On a finished ring, the polish looks like something that happened in one pass. In reality, it is a sequence of deliberately coarser then finer abrasions, applied in a fixed order, with masking and inspection between stages. Skip the order and the surface will look glossy in the showroom and dull three months later.
Stage zero: inspect and mask
Before any compound touches the piece, the polisher inspects the casting or repair for deep scratches, tool marks, or residual investment. Those defects are removed now — with files, sandpaper sticks, or burrs — because once polishing starts, they disappear under surface shine and reappear after the first wear. Stones, engraved areas, and brushed sections are protected with masking lacquer or tape so the buff does not round crisp edges or grind girdles.
Stage one: remove filing lines
The polisher starts with abrasive paper or a radial bristle wheel charged with medium grit, working out the file marks left by the caster and bench worker. This stage is not about shine; it is about making every scratch shallower than the one before it. Working in circular or back-and-forth strokes, the polisher steps from coarse to fine grit, flipping the ring frequently so the shank and gallery get equal attention.
Stage two: tripoli on a stiff sisal wheel
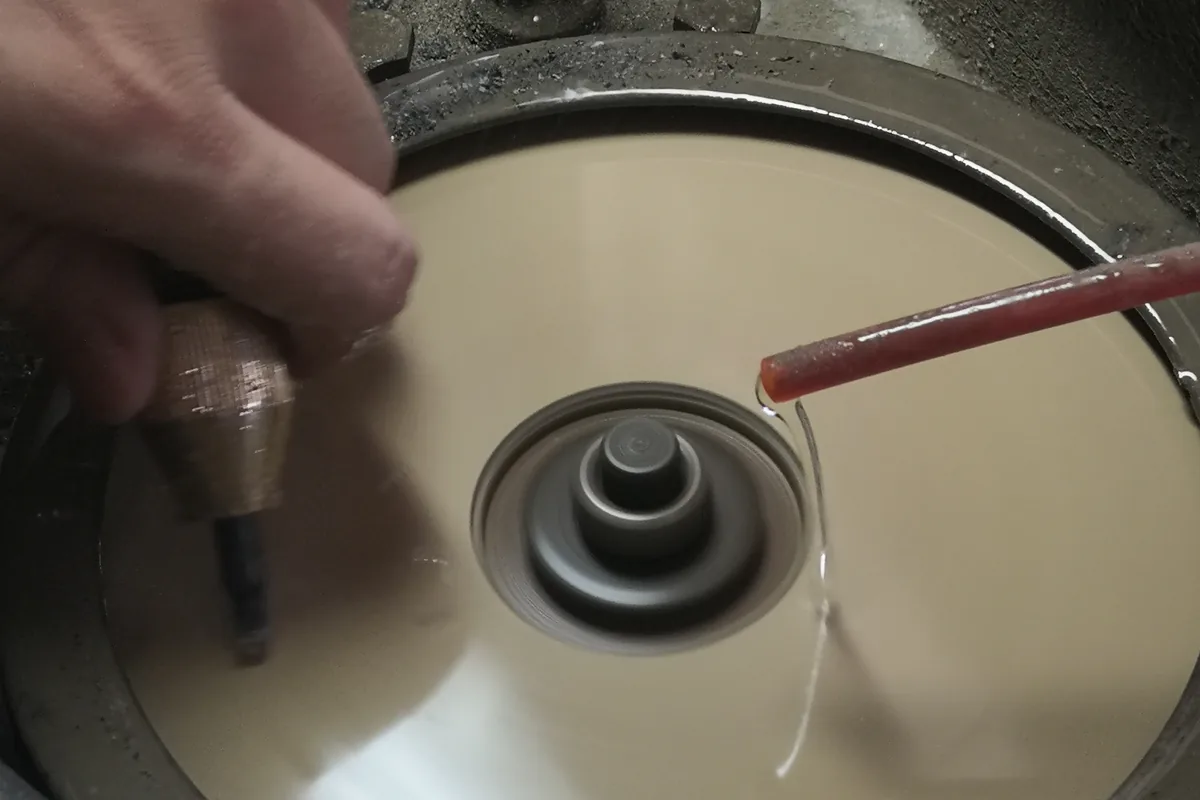
Next comes tripoli — a cutting compound carried on a stitched sisal or cotton wheel running at moderate speed. Tripoli removes the faint sand scratches from stage one and brings the metal to a smooth, satin-ish luster. The polisher presses the ring lightly, never leaning into the wheel, because heat from pressure discolors the metal and softens soldered joints. This is the stage where a rushed bench exposes itself: skip tripoli and the final rouge shine sits on top of deep scratches that come back within weeks.
Stage three: rouge on a loose buff
Rouge — a fine iron-oxide compound — is applied on a soft, loose cotton buff at higher speed. This is the mirror stage. The polisher uses barely any pressure, letting the buff skim the surface. A well-charged rouge buff produces the bright, cold reflection customers expect; an overloaded buff flings compound into pavé seats and between prongs, creating hours of follow-up cleaning.
Stage four: texture and line work
Not every surface goes to mirror. Brushed finishes, satin finishes, and radial lines are applied after the mirror stage, because polishing would otherwise erase them. A brush wheel charged with a fine compound draws consistent lines across the shank; a matte abrasive cloth produces a soft satin. The direction of the brush is planned before the machine turns on — sideways, along the shank, or radial — because once a line is laid down it cannot be undone without repolishing.
Stage five: clean, inspect, plate
Polishing leaves compound embedded in every crevice. The piece goes through an ultrasonic bath, a steam clean, and a hand check under magnification with a fiber tool to pick compound out of pavé seats. Only after a clean inspection does it move to rhodium plating, patina, or final QC. White gold that is plated before it is fully clean will peel in patches; yellow gold that ships with trapped rouge will stain.
The mistakes that show up later
The most common bench shortcut is skipping tripoli and going straight from sanding to rouge. The piece looks perfect the day it leaves the shop, but the underlying sand scratches reappear after a month of wear because rouge only sits on top of them. The second common mistake is over-pressuring the buff, which heats the metal, burns the compound, and leaves a surface that haze under bright light. The third is ignoring the inside of the shank — the customer sees that surface every day, and a rough inner wall reads as cheap even when the outside is flawless.
These errors are invisible at first glance and visible three months later. That is why the polish order matters: every stage is there to make the next stage last, and skipping one transfers the cost from the factory bench to the customer’s first wear.
What buyers can spot on a sample
- Look for radial scratches that change direction across a solder joint — a sign the piece was repolished after repair without re-matching lines.
- Check the inside of the shank for heat discoloration near the prongs — pressure was too high on the buff.
- Run a finger across pavé beads — they should feel smooth, not jagged.
- Confirm brushed and mirror zones meet cleanly, with no bleed.
Aftercare is half the battle: our ring care guide covers how customers should maintain a finish that was built to this order. The takeaway: a polish is only as good as the stage that came before it, and the bench that rushes stage two is the one whose pieces come back dull.
The Wikipedia article on rhodium explains why rhodium plating is applied to white gold and silver jewellery.
Related reading: Prong Checks: The Signs Your Ring Needs a Bench Visit Before It Loses , Deep Cleaning: What Actually Happens When We Clean Your Ring at the Be, Ring Resizing Explained: What Happens at the Bench.
Frequently Asked Questions
What ring sizes can you supply in bulk?
US sizes 5–12 including half sizes. Send a size breakdown with your order and we cast to that curve; comfort-fit inner bands reduce resize requests.
Can I order a mixed size run instead of one size?
Yes. Mixed runs are standard for wholesale: specify quantity per size and we pack and label by size at no extra labor cost.
What is the MOQ for custom ring designs?
50 pieces per design for existing molds; 100–300 pieces when a new mold or CAD model is required.
How should I price rings for retail margin?
Most partners use a 3–4x markup on FOB cost for sterling and 2.5–3x for moissanite solos, which keeps landed cost under 30% of retail.