A designer sent a CAD file for a stacking ring and expected a first sample in two days. The printed wax cast, the ring came out gorgeous on top—but it would not go over a size 7 finger. The CAD was correct. The wax print layer and shrinkage compensation were not. 3D printed wax is fast, but speed only helps if the printer resolution, support strategy, and casting shrinkage are accounted for before the mold is burned out. These are the fit notes a production house tracks on every job.
What resolution actually controls
SLA and DLP wax printers build in layers, commonly 25 to 50 microns per layer for jewelry. At 25 microns, fine detail such as milgrain, tiny text, and delicate engraving survives into the casting. At 50 microns, vertical surfaces show subtle layer stepping that polishing will remove but thin details may not. For most production rings, 25 to 30 microns is the sweet spot: detail survives without tripling print time. For very fine filigree or micro-pave patterns, we drop to 20 microns and accept the longer print.
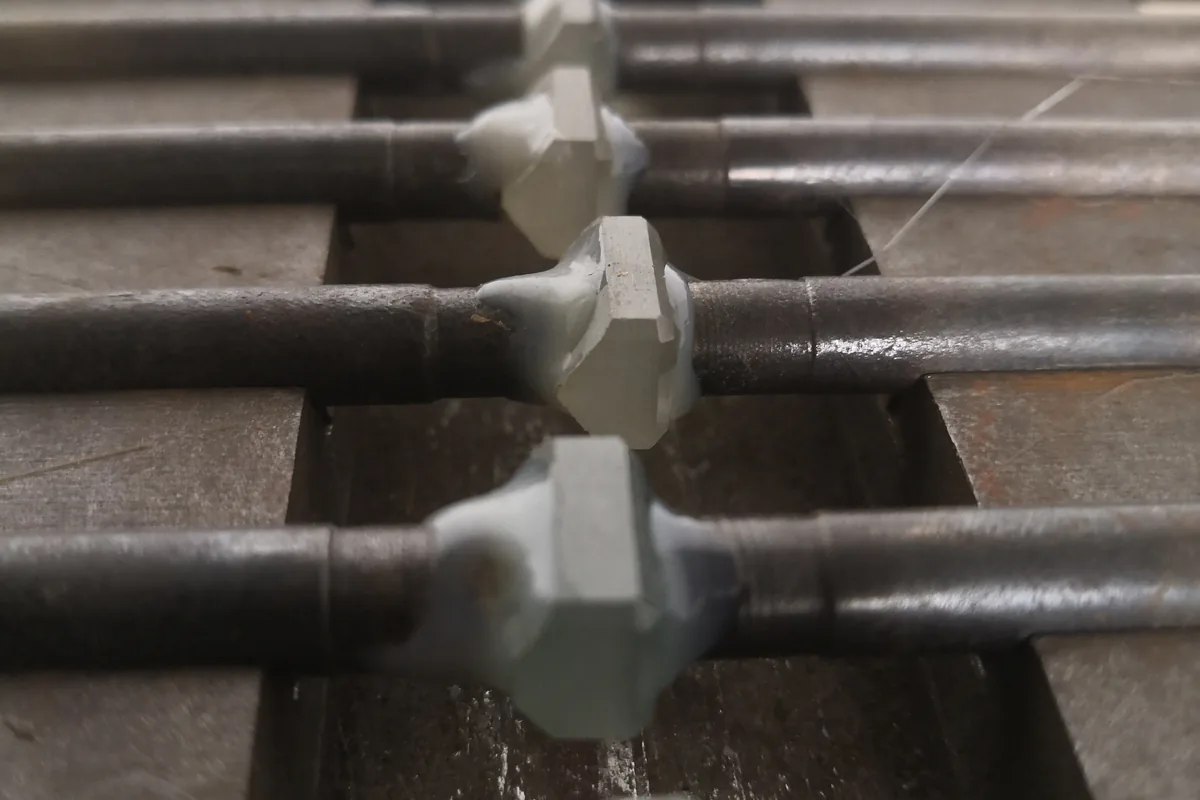
Resolution is only half the story. Support placement controls surface quality. Supports leave small nubs where they touch the wax; those become casting marks that require cleanup. We place supports on hidden surfaces—the inside of bands, the back of pendants—never on visible front faces. A print that looks perfect on the build plate can be ruined by supports on the tabletop of a ring.
Shrinkage and fit compensation
Every step shrinks: the wax print itself, the invested mold during burnout, and the metal as it cools. Combined, a typical casting shrinks roughly 1.5 to 2 percent linearly. If you print a size 7 ring at exact CAD dimensions, the finished casting will come out a half size small. Production files are scaled up by the foundry's measured shrinkage factor—commonly 1.015 to 1.020—so the final metal lands on the target size. That factor is calibrated per alloy and per printer and written into the job template, not guessed.
Fit issues also come from wax burnout. If the wax does not evaporate cleanly, it leaves ash that creates surface roughness or small voids. Proper burnout schedules hold the kiln through the wax flash point long enough to vaporize the pattern, which ties directly to investment and sprue defect basics. Clean burnout means the cast surface matches the wax surface; dirty burnout means the caster spends hours chasing texture that was never in the design.
Why first samples still surprise you
Even with correct scaling, wall thickness, prong width, and stone seat depth need a physical check. A wax that prints at 0.8mm wall may cast slightly thinner after polishing. Stone seats designed in CAD rarely match a real stone's girdle exactly, so we always verify seats against the actual gem before production. This is why a first sample exists: to catch the 0.3mm gap that no screen shows. Brands that expect perfect first-article fit should budget one sample iteration; that iteration is cheaper than a 500-piece mis-cast.
After casting, the wax-derived part flows through compound and finishing stages, where layer stepping is removed, and lands at weight and tolerance checks. The alloy itself, including lot-locked grain chemistry, also shifts how much material survives casting, so the CAD target weight and the cast weight are always compared.
Support density is another knob buyers rarely see but that changes cleanup cost. A heavy support tree holds the wax rigid during printing but leaves more nubs to file off; a sparse tree saves cleanup but risks thin arms flexing during burnout. We tune support density to the geometry: delicate chains and filigree get a denser tree, simple bands get a light one. Because the final metal must still meet karat fineness standards, the scaled-up CAD also includes the metal weight loss expected from support removal and polishing, so the cooled part lands on both the right size and the right gram weight.
FAQ
Can 3D printed wax replace hand-carved wax entirely?
For most production designs, yes. Hand carving remains useful for one-of-a-kind organic forms where the designer wants texture that cannot be modeled in CAD.
How long does a wax print take?
A single ring pattern prints in 2 to 4 hours at 25 to 30 micron layers. A plate of 20 to 30 pieces runs overnight, which is why production batches are printed together rather than one at a time.
Why is my first ring half a size small?
Almost always missing shrinkage compensation. The CAD must be scaled up by the foundry's measured shrinkage factor (roughly 1.5 to 2 percent) so the cooled metal lands on the target size.
Want a first sample that fits on the first try? HOLYCOME prints wax at 25 to 30 micron layers with calibrated shrinkage scaling and verified stone seats. Send your CAD for a custom manufacturing quote.
Frequently Asked Questions
How do I verify a factory before placing a bulk order?
Request a production video, business license, export records and a paid sample run. A factory that accepts a 50-piece test order is usually a real manufacturer.
What payment terms do you offer?
30% T/T deposit with the balance against the bill of lading. This protects both sides on first orders and can move to net terms after a track record.
What is your normal reject rate?
3–5% under 10x loupe inspection for cast and set pieces. Defective units are replaced free in the next shipment.
Where is the factory located?
Wuzhou, Guangxi, China—the core lab-grown and moissanite manufacturing cluster. Shipments go via Guangzhou or Shenzhen ports.