A raw casting arrives at the finishing department with an orange-peel surface, sprue buttons, and file marks from the caster. It leaves as a mirror, a satin, or a brushed surface. Finishing is the most labor-intensive department in the building, and it is where two factories casting the same CAD diverge into clearly different products. The finishing workflow is a sequence, not a single step, and cutting it short is the cheapest way to look cheaper at retail.
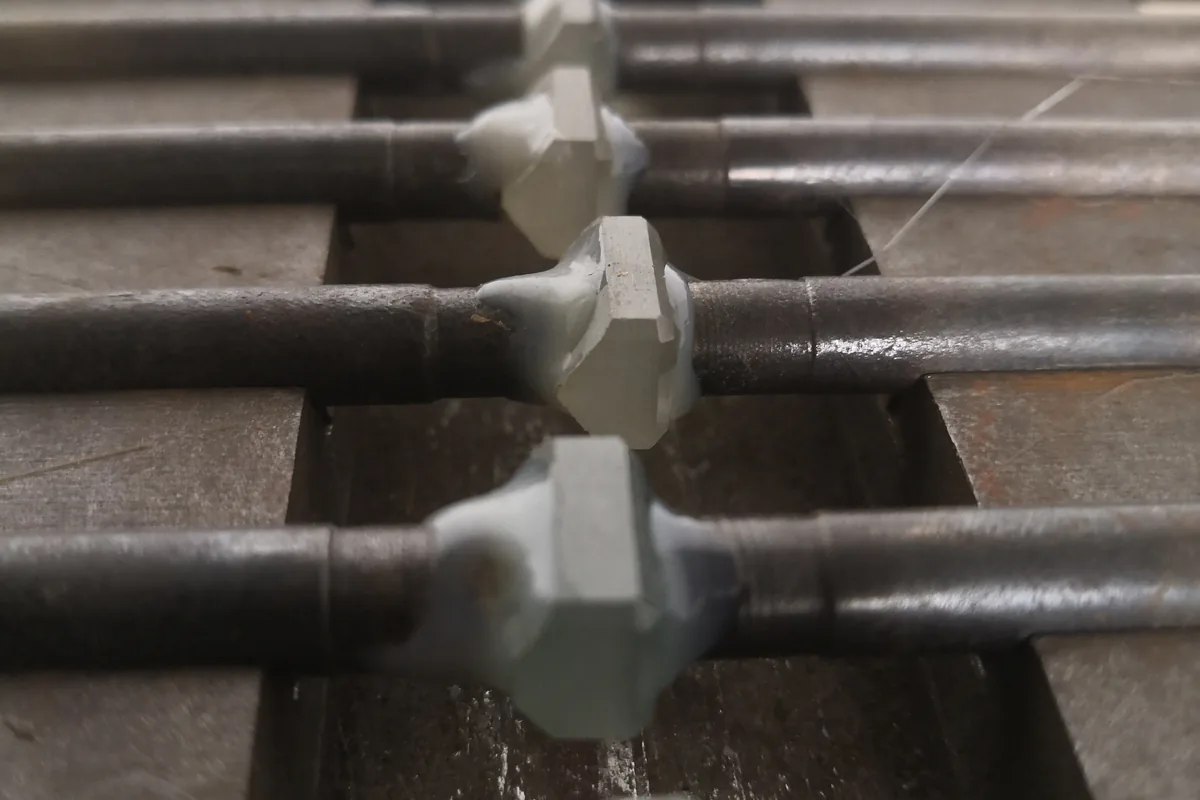
Stage 1: Grinding and sprue removal
The first station removes the sprue button with a separating disc or a grinding wheel. This is aggressive work: the operator aims to leave the piece close to its final contour without cutting into the design. A grinder who cuts too deep leaves a low spot that the next stages can only partially hide. On complex pieces, sprue positions are chosen at the tree-building stage specifically so grinding happens on a surface that is easy to repair. A well-sprued tree means the grinder barely has to touch the visible face; a poorly sprued tree means the finisher spends minutes blending out a button mark on the table of a ring.
Stage 2: Sanding through abrasives
Once the sprue is gone, the piece moves through a progression of abrasives, from coarse to fine. Each grit removes the scratches left by the previous one. Skipping a grit is the classic shortcut: a factory that jumps from 220 grit to polishing compound will never get a clean mirror, because the 220 scratches remain visible under the high polish. Consistent finishing means every piece goes through the same grit sequence, every time, on the same motor speed. The grit progression is posted on the wall in a real shop; if you cannot see it, you cannot verify that the sequence is being followed.
Stage 3: Prep and surface uniformity
Before polishing, the operator checks for pits, file marks, and asymmetric surfaces. This is also the stage where textures are planned: a satin finish requires a different prep than a mirror, and a brushed finish requires the brushing wheels to be loaded before the mirror polish begins. Mixing finished and unfinished pieces on the same bench causes cross-contamination, which is why good finishing rooms separate mirror, satin, and brushed work into their own bays. A piece that gets a mirror polish and then a light brushing passes inspection in-house but shows uneven brushing on a store display stand.
Stage 4: Polishing and buffing
Polishing compounds are loaded onto cloth or felt wheels at controlled speed. The operator applies the piece lightly to the wheel, never pressing hard, because pressure burns the surface and leaves heat marks that require starting over. For detailed or prongs-heavy pieces, small bits and mandrels are used to reach inside settings. The goal at this stage is a uniform luster that looks the same on every piece in the batch. A production batch that looks slightly different from piece to piece is usually a sign that operators are rushing the buff stage, not a sign of natural hand-finishing.
Stage 5: Post-set touch-up
Pieces often go out of finishing before stones are set. Once stones are in, the bench handling leaves fingerprints, minor scratches, and compound trapped under prongs. The piece returns for a quick touch-up polish and an ultrasonic clean before final QC. Skipping this return is how buyers receive pieces that look polished in the catalog but show handling marks on arrival. The touch-up is short, but it is a separate station with its own cost; factories that quote finishing without mentioning the touch-up stage are quietly absorbing it or skipping it.
Batch size and consistency
Finishing is a people business. A small crew can hand-finish 30 rings a day to a high standard; pushing them to 80 means the grit sequence gets shorter and the mirror gets softer. When you compare factory quotes, the cheapest finishing price often reflects fewer minutes per piece, not a more efficient process. Ask how many minutes the factory allocates per piece in finishing, and whether they photograph sample batches before and after. A shop that can show you a before-and-after grid for your SKU is a shop that measures its own finishing.
Cleaning before packing
The finishing line does not end at the buff. Every piece goes through an ultrasonic clean to dislodge polishing compound trapped under prongs and in engraved recesses, then a steam blow and a final cloth wipe. Compound left behind shows up as a greenish residue under store lights, and it is one of the most common "it looks cheap" complaints on otherwise well-made pieces. Pieces that need anti-tarnish treatment or rhodium plating are routed before the final clean, so the cleaning step is the last thing that happens before QC.
What to ask a finishing department
Ask to see the grit progression on the wall, the wheel speeds, and how they handle touch-up after stone setting. A well-run finishing room posts these numbers. You can compare finish examples on our portfolio.
For the legal text behind our material compliance, see the REACH Regulation (EC) No 1907/2006 on EUR-Lex.
Frequently Asked Questions
How do I verify a factory before placing a bulk order?
Request a production video, business license, export records and a paid sample run. A factory that accepts a 50-piece test order is usually a real manufacturer.
What payment terms do you offer?
30% T/T deposit with the balance against the bill of lading. This protects both sides on first orders and can move to net terms after a track record.
What is your normal reject rate?
3–5% under 10x loupe inspection for cast and set pieces. Defective units are replaced free in the next shipment.
Where is the factory located?
Wuzhou, Guangxi, China—the core lab-grown and moissanite manufacturing cluster. Shipments go via Guangzhou or Shenzhen ports.